project09:Styling
| (31 intermediate revisions by 2 users not shown) | |||
| Line 1: | Line 1: | ||
| − | + | <div style="height:30px; width: 850px; margin:0px; padding: 0px; padding-top: 20px; border: 0px;"> | |
| − | + | <div style="float:left; width: 270px; height 30px; border: 1px solid #aaa; margin-right:17px; " align="center"> | |
| + | [[project09:frontpage |'''Frontpage''']] | ||
| + | </div> | ||
| − | [[File: | + | <div style="float:left; width: 270px; height 30px; border: 1px solid #aaa; margin-right:17px;" align="center"> |
| + | [[project09:interactions |'''Interactions''']] | ||
| + | </div> | ||
| + | |||
| + | <div style="float:right; width: 270px; height 30px; border: 1px solid #aaa; " align="center"> | ||
| + | [[project09:performance |'''Performance''']] | ||
| + | </div> | ||
| + | |||
| + | </div> | ||
| + | |||
| + | [[File:Project_09-styling_diagram_3.jpg| 850px]] | ||
| + | |||
| + | Our project starts with 3 platforms, which serve for Ferries, Private Boats, Mini Cargos and Sarah's boats respectively. The final figure forms from stacking more platforms with regard to specific funtions. | ||
| + | |||
| + | For each plate the basic logic is setting at least 3 supporting points, which go along with the contour. One platform stand upon another gently by almost touching only, which guarantee the lightness and column- free of the form. | ||
| + | |||
| + | |||
| + | [[File:P9-finalstyling01.jpg| 850px]] | ||
| − | + | '''Structure''' | |
| + | |||
| + | The logic of the structure is to distribute the load of the floor on to three point. The funnel shape is turned out to be a rational solution for the supporting structure. The force points are set near each other so that the load can be distributed along the vertical. The floor structure is thickened when carrying the supporting structure to ensure the structural strength. | ||
| + | |||
| + | [[File:Project_09-styling_diagram_2.jpg| 850px]] | ||
| + | |||
| + | |||
| + | |||
| + | '''Facade''' | ||
| − | + | [[File:Project_09-styling_facade_1.jpg| 850px]] | |
| − | |||
| − | + | [[File:Project_09-styling_facade_2.jpg| 850px]] | |
| − | |||
| − | + | '''Clading''' | |
| − | |||
| − | + | '''Interior Lighting''' | |
| − | 3. | + | Basically, there are 3 types of lighting, trips, stars and concealed lighting. For exterior lighting, strips are applied for underlying the figure this building, On the other hand, strips are utilized as well to vitalize the union of walls and ceilings. The milky way of circle lights goes along the internal geometric structural frame, satisfying the requirements of interior lighting. |
| − | + | <div style="height:130px; width: 850px; margin:0px; padding: 0px; padding-top: 10px; overflow: hidden;"> | |
| + | <div style="float:left; width: 270px; height 152px; margin-right:20px; border:0px;" align="center"> | ||
| + | [[File:G1.jpg|270px]] | ||
| + | </div> | ||
| + | <div style="float:left; width: 270px; height 152px; margin-right:20px; border:0px;" align="center"> | ||
| + | [[File:G2.jpg|270px]] | ||
| + | </div> | ||
| + | <div style="float:left; width: 270px; height 152px; border:0px;" align="center"> | ||
| + | [[File:G3.jpg|270px]] | ||
| + | </div> | ||
| + | </div> | ||
| + | Exterior lighting trips, Interior lighting trips, Interior lights cloud | ||
| − | [[File: | + | <div style="height:130px; width: 850px; margin:0px; padding: 0px; padding-top: 10px; overflow: hidden;"> |
| + | <div style="float:left; width: 270px; height 152px; margin-right:20px; border:0px;" align="center"> | ||
| + | [[File:G4.jpg|270px]] | ||
| + | </div> | ||
| + | <div style="float:left; width: 270px; height 152px; margin-right:20px; border:0px;" align="center"> | ||
| + | [[File:G12.jpg|270px]] | ||
| + | </div> | ||
| + | <div style="float:left; width: 270px; height 152px; border:0px;" align="center"> | ||
| + | [[File:G5.jpg|270px]] | ||
| + | </div> | ||
| + | </div> | ||
| + | Interior lights cloud and concealed lights, Overall lighting system, Interior faces | ||
| − | |||
| − | + | <div style="height:130px; width: 850px; margin:0px; padding: 0px; padding-top: 10px; overflow: hidden;"> | |
| + | <div style="float:left; width: 270px; height 152px; margin-right:20px; border:0px;" align="center"> | ||
| + | [[File:G6.jpg|270px]] | ||
| + | </div> | ||
| + | <div style="float:left; width: 270px; height 152px; margin-right:20px; border:0px;" align="center"> | ||
| + | [[File:G7.jpg|270px]] | ||
| + | </div> | ||
| + | <div style="float:left; width: 270px; height 152px; border:0px;" align="center"> | ||
| + | [[File:G8.jpg|270px]] | ||
| + | </div> | ||
| + | </div> | ||
| + | <div style="height:130px; width: 850px; margin:0px; padding: 0px; padding-top: 10px; overflow: hidden;"> | ||
| + | <div style="float:left; width: 270px; height 152px; margin-right:20px; border:0px;" align="center"> | ||
| + | [[File:G9.jpg|270px]] | ||
| + | </div> | ||
| + | <div style="float:left; width: 270px; height 152px; margin-right:20px; border:0px;" align="center"> | ||
| + | [[File:G10.jpg|270px]] | ||
| + | </div> | ||
| + | <div style="float:left; width: 270px; height 152px; border:0px;" align="center"> | ||
| + | [[File:G11.jpg|270px]] | ||
| + | </div> | ||
| + | </div> | ||
| + | Various perspective views of interior | ||
| − | + | '''Ramp''' | |
| − | + | The ramp extends downwards slowly, going along with the shape of the atrium and the basic language of this project. | |
| − | [[File: | + | <div style="height:130px; width: 850px; margin:0px; padding: 0px; padding-top: 10px; overflow: hidden;"> |
| + | <div style="float:left; width: 270px; height 152px; margin-right:20px; border:0px;" align="center"> | ||
| + | [[File:G10.jpg|270px]] | ||
| + | </div> | ||
| + | <div style="float:left; width: 270px; height 152px; margin-right:20px; border:0px;" align="center"> | ||
| + | [[File:G11.jpg|270px]] | ||
| + | </div> | ||
| + | <div style="float:left; width: 270px; height 152px; border:0px;" align="center"> | ||
| + | [[File:G9.jpg|270px]] | ||
| + | </div> | ||
| + | </div> | ||
Latest revision as of 12:14, 18 January 2013
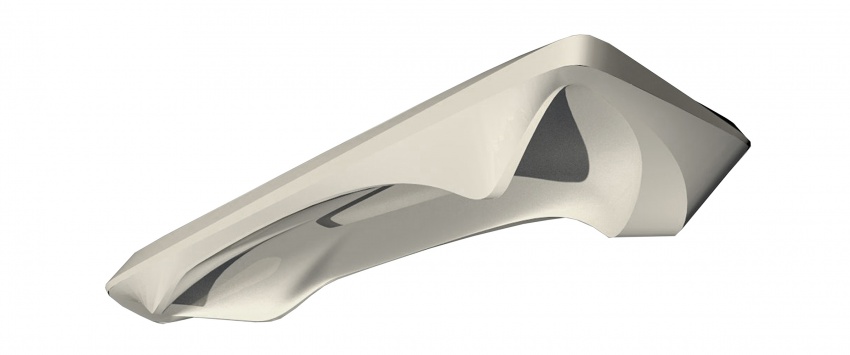
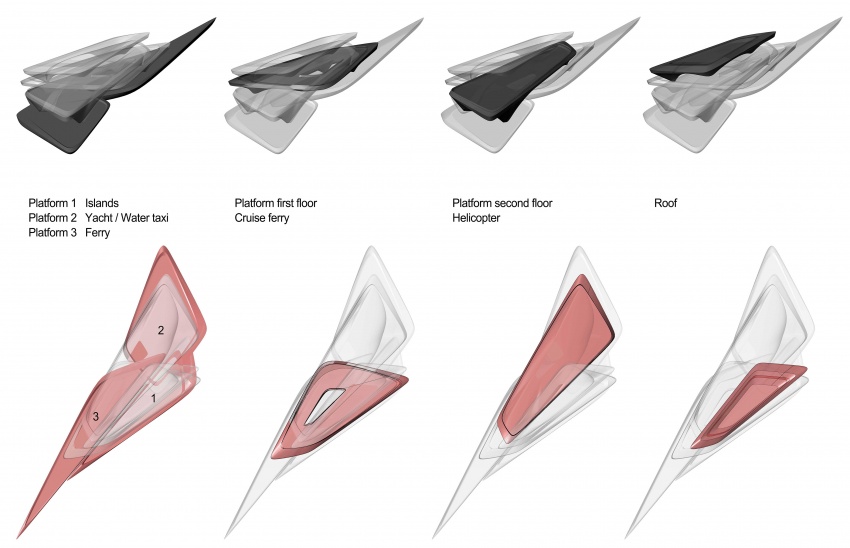
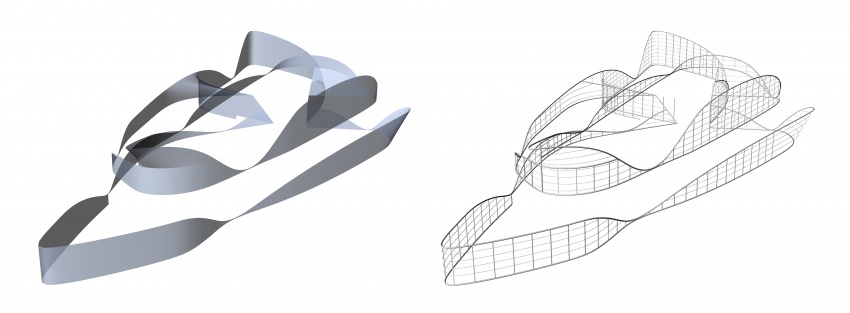
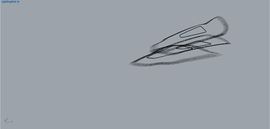
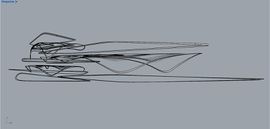
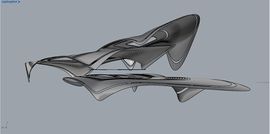
Our project starts with 3 platforms, which serve for Ferries, Private Boats, Mini Cargos and Sarah's boats respectively. The final figure forms from stacking more platforms with regard to specific funtions.
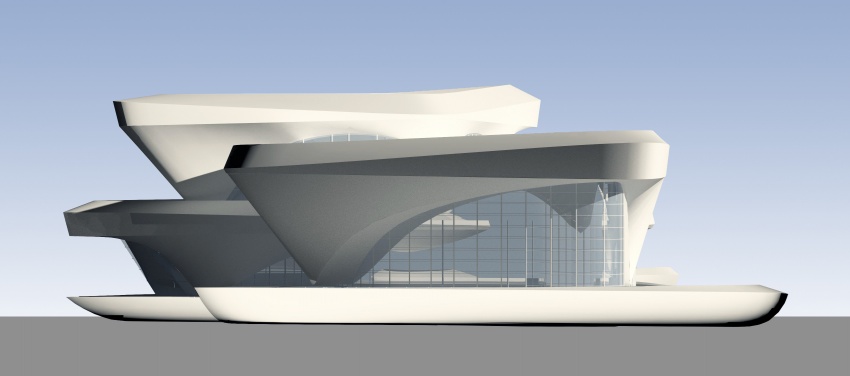
For each plate the basic logic is setting at least 3 supporting points, which go along with the contour. One platform stand upon another gently by almost touching only, which guarantee the lightness and column- free of the form.
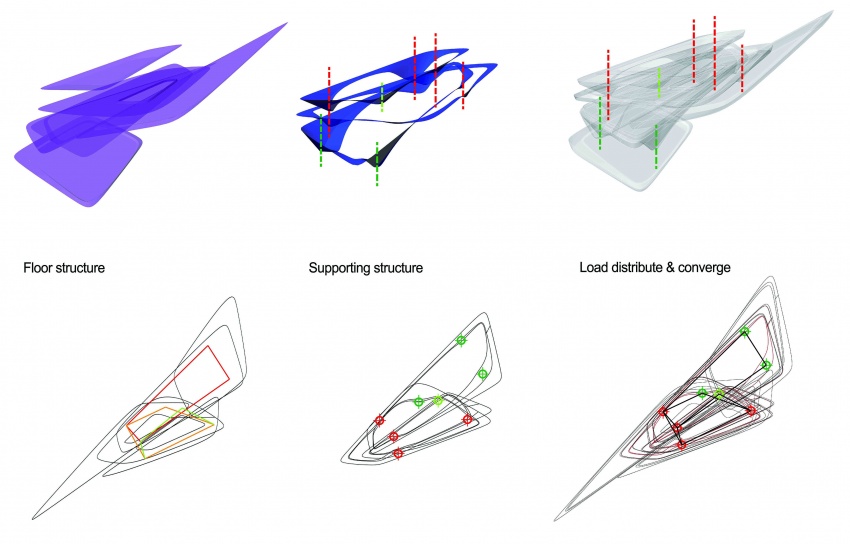
Structure
The logic of the structure is to distribute the load of the floor on to three point. The funnel shape is turned out to be a rational solution for the supporting structure. The force points are set near each other so that the load can be distributed along the vertical. The floor structure is thickened when carrying the supporting structure to ensure the structural strength.
Facade
Clading
Interior Lighting
Basically, there are 3 types of lighting, trips, stars and concealed lighting. For exterior lighting, strips are applied for underlying the figure this building, On the other hand, strips are utilized as well to vitalize the union of walls and ceilings. The milky way of circle lights goes along the internal geometric structural frame, satisfying the requirements of interior lighting.
Exterior lighting trips, Interior lighting trips, Interior lights cloud
Interior lights cloud and concealed lights, Overall lighting system, Interior faces
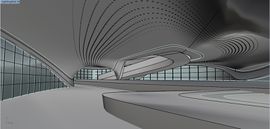
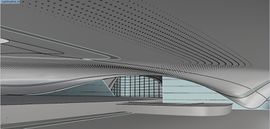
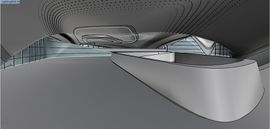
Various perspective views of interior
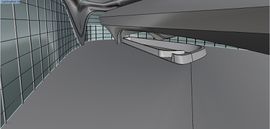
Ramp
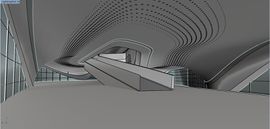
The ramp extends downwards slowly, going along with the shape of the atrium and the basic language of this project.
